
Painted Stenciled Floors
- Feb 17, 2019
- 6 min read
Updated: Jan 21, 2022
Hello all, I’ve been on a mission since I did this DIY a while ago to one day get a blog post written up to fully explain to you all how I stenciled both my linoleum and slate tile floors to get the look below!


I guess a good thing about not getting this website done earlier is that now I can explain things with a lot of the answers to the FAQ’s I’ve received from my Instagram account. The first place I took a crack at painting floors was our kids bathroom which had some boring white linoleum floors before, so I decided to try it in there first, and guess what...it turned out SO great that I knew I would be doing it in our master bathroom eventually! I gave it about a year to really test the durability of the painted floors with the constant traffic of our two kids before I decided on tackling the beast of our master bath. I was determined to get it looking brighter and cleaner in there and I knew I could get it done with some paint supplies and a good show to binge watch on Netflix. The before and after pics of our master bathroom are probably my favorite before and afters of our house. The power of a bit of paint completely transformed the space. We know one day we will be fully remodeling in both of these bathrooms, but for now I am so smitten with my hard work in these spaces and I am in love with how much brighter and updated it looks in there now. Alrighty, so enough rambling, lets get to this project!
What you will need:
1 stencil of your choice, I bought a 12”x12” stencil from the brand Art Minds at Michaels
1 quart of Zinsser Bullseye 1-2-3 Primer
1 quart Rustoleum Chalk Paint in usually a lighter colour of your choice, Lowes or Home Depot
1 quart Rustoleum Chalk Paint in usually a darker contrasting colour of your choice
1 quart Minwax Polycrylic (I used Clear Satin)
3-4” foam paint rollers, I buy mine at the Dollarama
Small paint tray
Tin foil (I like to use tin foil to line my paint trays rather than buying the liners)
1 Large high quality paint brush, I prefer Purdys brushes, Home Depot/Lowes
1 small angled paint brush (an old make up brush would work)
1 Role of painters tape


Step 1:
First thing you will want to do no matter what surface you are working on is wash that surface! I mean really wash it, use a good floor cleaner or a degreaser product safe for floors. I used PineSol and made sure I thoroughly rinsed off any residue afterwards.
Step 2:
You may or may not need to sand your floors at this point. If your floors are very shiny or glossy I would give them a good etching with a sanding block, enough to buff the shine off a bit, then give it another wipe. Ok, so now you will take a look at the areas that need to be taped off. I taped off all my baseboards, around my toilet and tub. After your taping is all done you can apply your first coat of primer. I rolled on the Bullseye primer with one of my 4” rollers. I applied two coats in total, but PLEASE make sure you wait the proper dry time in-between coats. Don’t ever rush the dry time of the primer, it really needs to cure properly. This is your bond coat after all, and without a fully set bond coat your hard work from here won’t even matter at all cause it won’t dry.

Step 3:
Ok, so before we get any further, decide what look you want before you pick your base coat colour. Do you want your floor to be lighter and brighter or darker and more dramatic? If you want it lighter then you will obviously start with your lighter chalk paint as your base colour. Using another 4” roller you will take your chalk paint and role on your first coat of paint. In total I did two coats of my base colour. I find chalk paint dries very fast, so I didn’t actually wait too long before I applied my second coat...I wanna say I waited 2 hours.
Step 4:
Okie Dokie, onto the next step. First thing I need to mention before we get stenciling is that you will want to try and align up your stencil with your previous tile. This tile that I am working with is a 12x12" tile, but as you can see in the images the old grout lines do not actually match up with the stencil pattern. Why did I do this? I did this because my grout was very crooked and I thought if I followed that line my stencil would look crooked, so I just went on as if there was no pattern to follow. In hind site I do kinda wish I tried to at least follow the grout lines, cause it is something that kinda bothers me now. Having said that only I notice it, lol! My husband is like "what are you talking about?" You can stencil over top of any floor, even if you have a busy brick floor you could still get a stencil that isn't the same size of the brick, as long as you don't mind seeing the previous grout lines running through your pattern.
Ok, so now lets actually move onto step 4. Now you get to lay your first stencil down. When I painted my kids bathroom I decided on starting in the middle of the space and then working around that tile. I didn’t want it to look like I lined it up with the wall and then worked from there, cause that’s not how tile usually looks, usually tile is cut to fit the edges of a room so that’s what we want ours to look like too. When you lay your stencil down you will just need a wee bit of tape on each corner of your stencil to help keep it down flat while you are rolling. Get your next Rustoleum paint colour ready with another 4” roller and this time with a lighter application role over top of your stencil. Really try not to have too much paint on your roller or you can get bleeding. Between each stencil I like to wipe off the back of the stencil with a paper towel to get rid of any extra paint that may have bled to the back. Now you will lift the stencil off carefully from one corner and pull up. I liked to work diagonally from the one I just did, try not to go straight under the freshly painted one or you could smudge it. Continue to work in a pattern that works for you. Chalk paint, like I’ve said previously dries really fast so I found I could start to line up the stencils rather quickly and form a straight pattern.

Step 5:
Working around tricky spots like toilets, half walls or baseboards can seem challenging, but simply by bending your stencil upwards and using your painters tape to hold down the edges of the stencil that are on the floor is the simplest way to do it. I’ve demonstrated in my Instagram video which I will link below how I did this step. Things may not seem perfect after you’ve pulled off your stencil, your paint may have shifted or bled, but you can easily touch up these spots with a small angled tip brush and a bit of paint afterwards.

Step 6:
After you are happy with your over all look of your floor stencils, its time to top coat the entire surface. Take your large paint brush and paint on your Minwax Polycrylic in the sheen of your choice. I waited the proper dry time between coats. I did not sand between coats like it says to do on the can. I applied 3 coats to fully protect my hard work. You can take off your painters tape when your last coat of Polycrylic is still slightly tacky. I find taking off painters tape when things are still a bit tacky will give you a straighter line. Now you are all finished and you can pour yourself a glass of wine or better yet champagne to celebrate your hard work!!


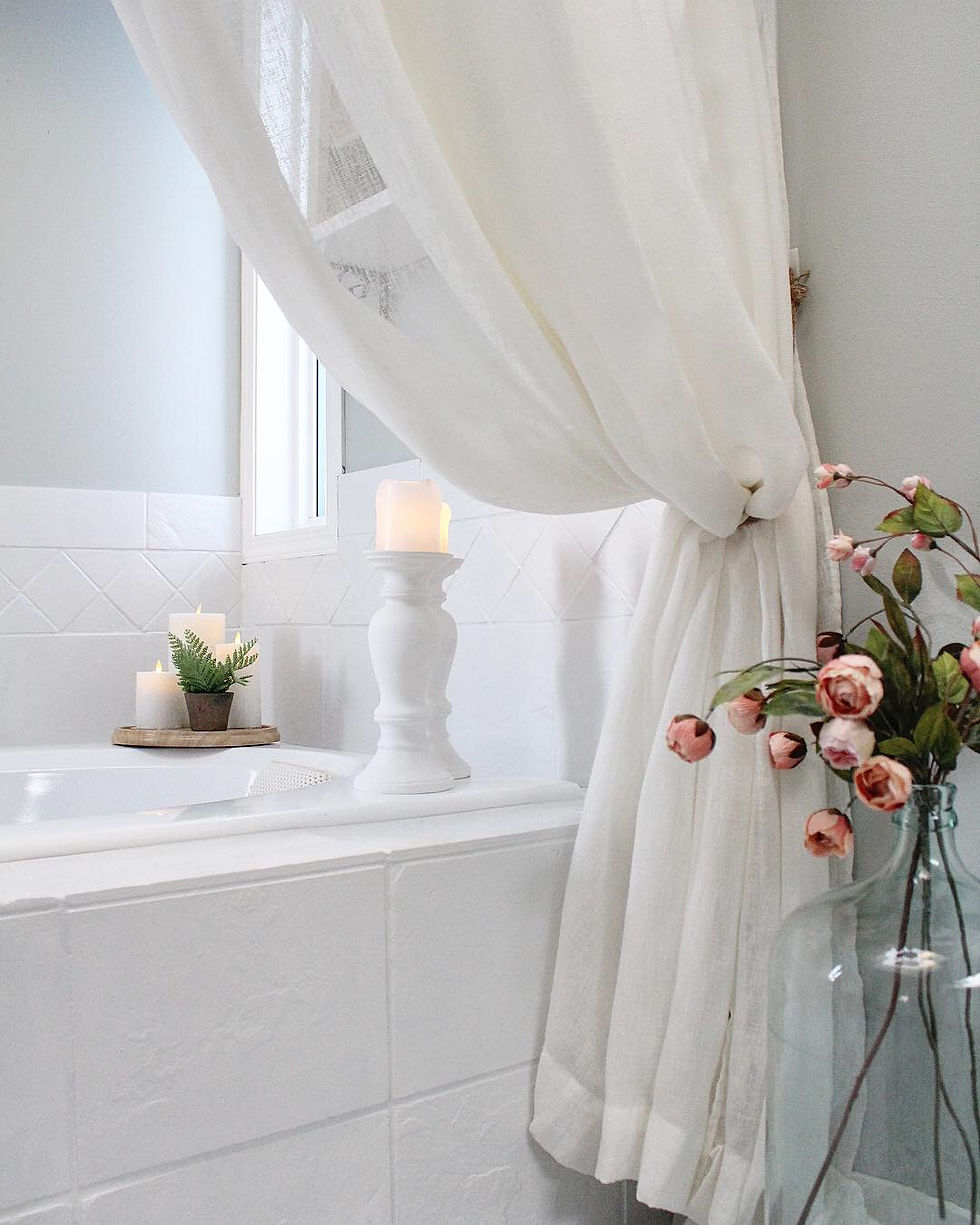
After looking at my freshly painted floors and bath tub tile surround, I decided I would just leave the tub tiles white to give it a clean look. I knew that once everything was done I couldn't leave this wall colour anymore. Things were starting to look so bright and clean, but this dark colour on the wall needed to go asap! So I decided on Sherwin Williams Silver Strand and gave the entire bathroom a fresh coat of paint. Seriously guys, GAME CHANGER!!
My bathroom went from this...


Can I get a drum role please!!!? To THIS......


Well?? What do you guys think? Have I convinced you to paint your ugly tile yet?? There have been no major renovations done in here, only painting!! I still can't get over the difference and I've been staring at it for over a year now!
Thanks for stopping by!
Dale


Reading this was one of the better decisions I made online today. Playing Ragdoll Archers was one of the better decisions I made this week.
This post succeeds at making you care about something you might not have cared about before reading it. Eggy Car succeeds at making you care about your performance in a way that only truly well-designed games can.
https://keonhacai.camp/ mình ghé thử lúc đang kiếm kèo bóng đá hôm nay, kiểu vào xem cho biết chứ không kỳ vọng gì nhiều. Ai ngờ giao diện nhìn khá dễ chịu, mở lên là thấy bảng tỷ lệ kèo nằm rõ ràng, cập nhật cũng nhanh nên khỏi phải refresh hoài. Mình thích nhất là cách họ chia nội dung theo từng khối, kéo xuống tới đâu là thông tin hiện gọn tới đó, không bị nhồi chữ hay pop-up che màn hình. Xem trên điện thoại cũng ổn, chữ và cột không bị vỡ hay chạy loạn. Mấy mục chính đặt ngay trên đầu nên tìm trận cần xem khá lẹ, đỡ phải bấm qua lại nhiều. Nói chung…
Mình có lần lướt đọc mấy trao đổi trên mạng شيخ روحاني thì thấy nhắc nên cũng tò mò mở ra xem thử cho biết. Mình không tìm hiểu sâu جلب الحبيب chỉ xem qua trong thời gian ngắn để quan sát bố cục جلب الحبيب cách sắp xếp شيخ روحاني các mục và trình bày nội شيخ روحاني dung tổng thể. Cảm giác là các phần được trình bày khá gọn, các شيخ روحاني mục rõ ràng nên đọc lướt cũng không bị rối Berlinintim, với mình như شيخ روحاني vậy là đủ để nắm tin cơ bản rồi. جلب الحبيب
I enjoy how unblocked games keeps browser gaming simple and accessible for casual entertainment.